
The Do's and Don'ts of Loft Boarding in the UK: A Complete Guide
- May 29, 2025
- 5 min read
Updated: Nov 20, 2025

Thinking about boarding your loft for extra storage? You’re not alone. With rising living costs and limited home space, many UK homeowners are turning to loft boarding as a budget-friendly way to declutter and increase usable storage space.
However, installing loft boards incorrectly can lead to serious problems—like heat loss, insulation damage, and even structural risks. In this guide, we’ll walk you through the essential do’s and don’ts of loft boarding, with tips to ensure safety, efficiency, and compliance with UK regulations.
Why Loft Boarding Matters for UK Homes
Loft boarding involves laying boards across your loft’s joists to create a safe, usable surface for storage or access. When done properly, it:
Increases usable floor space
Improves loft accessibility
Preserves insulation efficiency
Adds resale value to your home
According to a UK study, 47% of homeowners avoid hosting guests due to clutter. Loft boarding offers a simple, affordable solution for regaining control over your home.
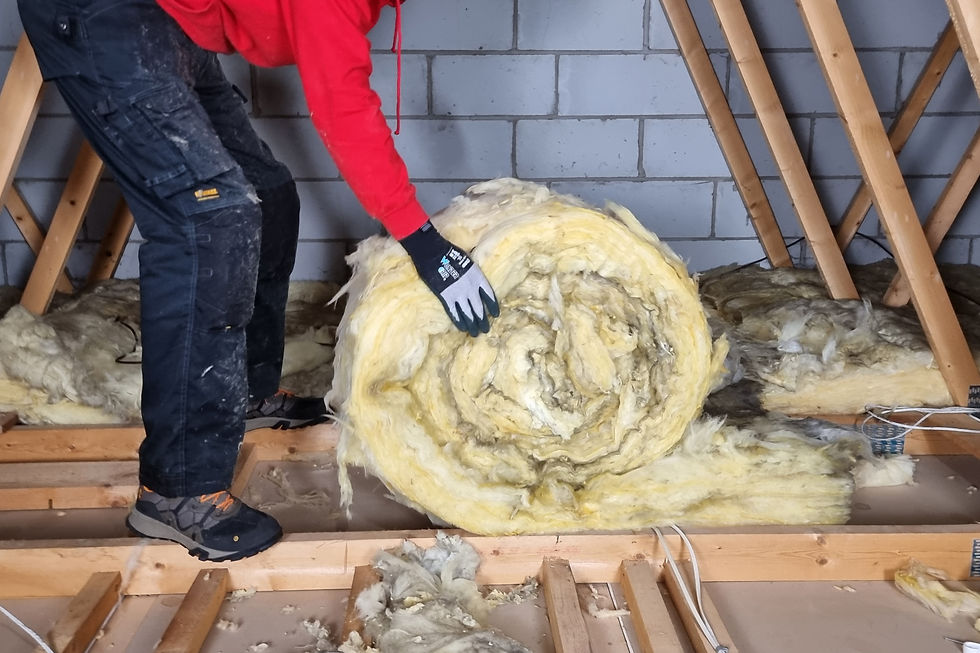
Storing items in an un-boarded loft can be difficult, compromise the insulation, and can even be dangerous.
The Do's of Loft Boarding
✅ Do Check and Upgrade Your Loft Insulation
Before boarding, check your current insulation depth. The UK Government recommends 270mm of mineral wool insulation for optimal energy efficiency (U-Value of 0.16 W/m²K). Topping up your insulation before laying boards can reduce heating bills by up to £250 a year.
✅ Do Use Loft Legs to Raise the Boards
Never lay loft boards directly on insulation. Use Loft Legs or raised floor supports to create a platform that prevents compression, preserving your insulation's performance.
🛠️ Tip: If your insulation exceeds 270mm, use extra-tall Loft Leg XLs to ensure maximum thermal efficiency.
✅ Do Measure and Plan Carefully
Calculate your usable loft space by multiplying the usable width by the length. Also measure between joists to determine how many boards and supports you’ll need.
✅ Do Use the Right Tools and PPE
You’ll need:
Loft boards (18mm chipboard recommended)
Loft Legs or equivalent
Electric drill and countersunk screws
Tape measure, saw, pencil
Dust mask, gloves, overalls
✅ Do Stagger Loft Boards
Stagger board joints like bricks for added strength. Cut boards to fit neatly around obstacles and secure them to Loft Legs using appropriate screws.
Creating a Raised Board Area
When you're ready to install your loft boards, you should position them above your insulation using Loft Leg supports designed for this purpose.
This will avoid compressing the insulation and ensure it is working to its maximum potential.
If your insulation is already at 270mm in depth then before you start you will need to roll back the top layer to reveal the joists/trusses. The Loft Legs can then be screwed into position on the top of the exposed joists/trusses prior to rolling back the insulation.


When laying your loft boarding, try to stagger the boards. This will prevent your boards' joints from meeting up and create a sturdier end product.
Doing this will involve cutting some of the boarding to fit. To do this, use a pencil to mark your boards. Then, use your timber saw to cut the boards to size.
Afterwards, lay the boards in their correct positions in the loft. You can then secure your boards onto the Loft Legs using multipurpose countersunk screws.
The Don'ts of Loft Boarding
Let's take a look at the main don'ts to follow when installing your loft boarding.
❌ Don’t Compress or Remove Insulation
Flattening insulation reduces its performance by up to 50%. Never cut or remove insulation to install boards. Instead, raise the boarding above the insulation to maintain its effectiveness.
If your loft's insulation is deeper than the 270 mm the government requires, then you may need extra-large supports for your loft boarding.
❌ Don’t Install Boards Directly on Joists


Installing boards directly on joists:
Damages insulation
Increases heat loss
May breach building regulations
May invalidate your new build warranty
❌ Don’t Overload the Loft
Most new-build lofts can hold 25kg/m² plus the weight of an adult walking around in the loft. Heavier loads could damage joists or ceilings. Check with a structural engineer if your home is older or you plan to store heavy items.
🛡️ Install a warning near your loft hatch stating the load limit.
Ignoring structural issues related to your roof or ceiling joists can cause major problems in the future. An engineer will assess your ceiling joint size and span. They'll also evaluate your walls and supports.
❌ Don’t Block Ventilation

Lofts need airflow to prevent condensation and mould. Avoid blocking soffit vents or air pathways with insulation. Use vent baffles or leave a suitable gap around vents.
Soffit vents are very common and provide essential ventilation into the loft space. They work by creating a cross flow of air from eaves to eaves. This airflow helps to remove moisture from the loft space and prevents moisture build-up.
In light of the above, you should make certain that your vents remain uncovered when installing insulation and loft boarding and that there are no vents or ducts leading into the loft space from extractor fans in bathrooms or shower rooms.
❌ Don’t Alter or Remove Trusses
Trusses are load-bearing components designed to work together. Modifying or removing any part of them can jeopardize your roof’s structural integrity.
❌ Don’t Cover Downlights
Covering halogen or LED downlights with insulation or boards risks overheating and fire. You may also be tempted to cut the insulation around downlights or other equipment in the loft space. Don’t.
Cutting insulation will compromise your insulation, creating a heat chimney and drawing heat from the rooms below into the loft.
Use Loft Lids or downlight covers to create a safe thermal barrier. The Loft Lid downlight cover can be simply placed over downlights to allow insulation to be continuously rolled over the top.

These covers are designed to create a safe volume of air around your LED or halogen fittings. If installed with silicone they'll also create a sturdy airtight seal to maintain the airtightness of the ceiling. In addition, it will prevent insects and dust from dropping through your fittings into your home's rooms below.
Always check the cover manufacturers fitting instructions as well as the lamp manufacturers fitting instructions before installation.
Bonus Loft Boarding Tips for Energy Efficiency
Install an Insulated Loft Hatch – Prevent heat from escaping through poorly sealed hatches.
Use Stackable Plastic Boxes – Keep items organised and moisture-free.
Take Photos Before Covering Wiring or Pipes – Useful for future repairs or upgrades.
How Loft Leg Products Make Loft Boarding Safer and Smarter
At Loft Leg, we help homeowners across the UK create safe, efficient loft storage with:
Loft Legs – Raise boards above insulation
Loft Lids – Protect downlights and improve energy efficiency
Loft Lights – Easy-to-install lighting for attic spaces
Our products are designed, tested, and made in the UK—ensuring quality, compliance, and safety for every DIY loft boarding project.
Final Thoughts
Loft boarding is one of the most practical home improvements you can make—but only if it’s done right. By following the proper do’s and don’ts, you’ll:
Preserve your insulation’s performance
Prevent structural issues
Maximise your storage space safely
Ready to transform your attic into a functional space?
Browse our Loft Boarding Products or Contact Our Team for expert advice today.


Comments