
How to Board a Loft Safely: The Complete Guide Using Loft Leg Raised Flooring
- Oct 13, 2025
- 4 min read
Updated: Oct 14, 2025
Transform wasted loft space into practical, energy-efficient storage.
If you’re wondering how to board your loft safely, you’re not alone. Millions of UK homeowners want to turn their empty lofts into usable storage but worry about damaging insulation or voiding new-build warranties.
The good news? With Loft Leg, you can board your loft without compressing insulation, maintain full thermal efficiency, and create a strong, long-lasting floor for storage.

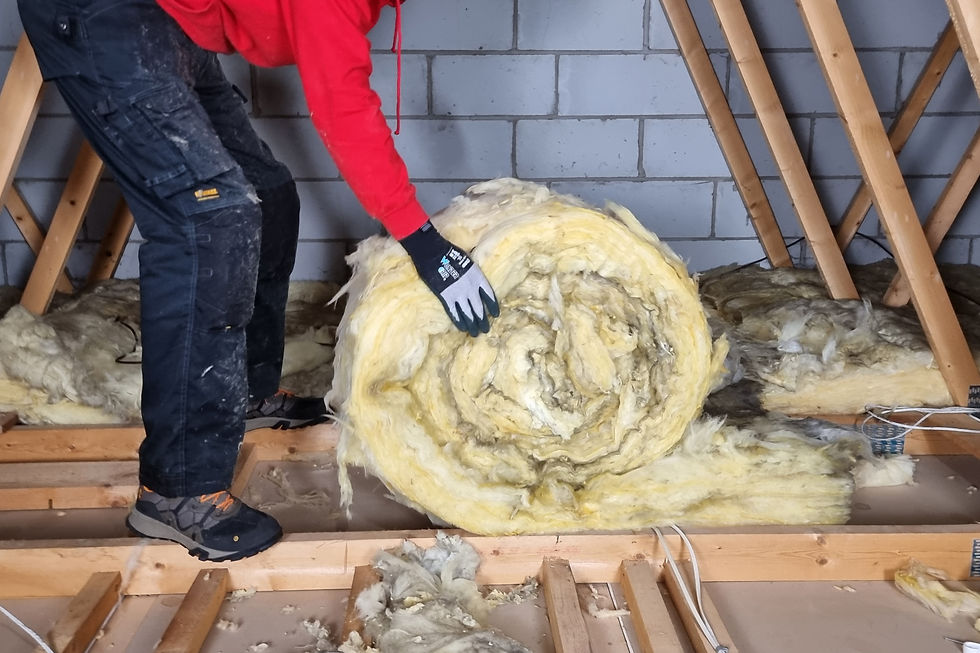
Why You Shouldn’t Board Directly on Loft Joists
Before fitting boards, it’s vital to understand why raising the floor is essential. Modern homes are recommended to have 270 mm of loft insulation (mineral wool or fibre glass) installed to meet Part L Building Regulations. This is much deeper than the height of the joists or bottom chords of the truss. If you screw boards directly to the joists:
You compress insulation, cutting its effectiveness by up to 50 %.
You increase heat loss, pushing up energy bills.

A raised loft floor eliminates these problems and keeps your insulation working efficiently for the life of the home.
What Is Loft Leg?
Loft Leg is the original, raised-floor support made from ultra strong, recycled plastic. Each leg raises your loft boards 175 mm above the joists, creating a gap for full insulation depth.
Key Benefits
Prevents insulation compression and maintains energy ratings.
Supports up to 25 kg/m² of stored items — plus the weight of an adult for access.
Quick to install, lightweight, and made in the UK from recycled materials.
When correctly installed, Loft Legs create a safe, solid, and sustainable platform for long-term loft storage.
How to Board a Loft Using Loft Legs
Follow these simple steps for a professional-quality raised loft floor:
Inspect your loft.
Check the joists for strength, ensure insulation is dry and at least 270 mm deep, and confirm there’s adequate ventilation.
Roll back top up layer
If there is already 270mm of insulation installed, roll back the top layer to expose the joists or bottom chords of the trusses.
Install Loft Legs.

Screw Loft Legs securely into the existing joists, spacing them roughly 600 mm apart along each run. If you the small loft panels are being fitted the Loft Legs will need to be spaced at approximately 320mm centres along the joists.
Roll back insulation.
Roll back the top layer of insulation and where it meets a Loft Leg create a small slit in the insulation and gently press it down and around the Loft Leg.
Fix your loft boards.

Use 18 mm tongue-and-groove chipboard or OSB loft panels. Start near the hatch and build outwards. Leave a small expansion gap around the outer edges.
Add lighting and insulation accessories.
Fit a Loft Light or Loft Bulb for clear visibility.
Use a Loft Lid downlight cover to maintain insulation continuity.
Finish neatly with a Loft Lip around the hatch to cut draughts.
Loft Leg XL — For New-Build Homes

New homes often feature deeper insulation or trussed roofs that limit space. The Loft Leg XL raises boards 300 mm above the joists, making it ideal for new-build properties and NHBC-compliant installations. Using Loft Leg XL ensures:
The full insulation depth is preserved (300 mm +).
The loft remains within NHBC and Part L guidelines.
The system supports the same safe load capacity for storage.
Recommended Load and Storage Tips for Loft Leg Raised Flooring
Maximum load: 25 kg per m² of stored items.
Use light plastic boxes with lids for clean, organised storage.
Distribute weight evenly across the boarded area.
Avoid storing very heavy items.
Complete Your Loft with Loft Leg Accessories
Once your raised floor is in place, enhance safety and efficiency with Loft Leg’s complementary products:
Loft Ledge: shelving system that fits between trusses.

Loft Lid: fire-retardant, insulated downlight cover.
Loft Light: battery-powered LED light for instant illumination.
Loft Bulb: plug-in LED bulb for mains-powered lighting.
Loft Lip: Hatch trim to finish and tidy your hatch opening.

These additions help create a bright, organised, and energy-efficient loft that’s built to last.
Frequently Asked Questions
Can I board my loft without squashing insulation?
Yes — use Loft Legs to raise your loft floor above the insulation. This prevents compression, maintains airflow, and keeps your home energy-efficient.
Are Loft Legs strong enough for storage?
Absolutely. When correctly installed, a boarded loft supported by Loft Legs can handle 25 kg/m² plus the weight of an adult for access.
Will raised loft boarding affect my NHBC warranty?
No. Loft Leg and Loft Leg XL preserve full insulation depth and as long as the boarding is not overloaded (according to manufacturers instructions) will keep your loft compliant with Part L and not affect your NHBC warranty.
Summary
Boarding a loft the right way means protecting your insulation, maintaining energy performance, and creating a safe space for storage. With Loft Leg or Loft Leg XL, you can achieve all three — without compromising your home’s efficiency or warranty.
Turn your unused roof space into practical, eco-friendly storage today with Loft Leg’s complete raised flooring system, find out more at www.loftleg.com.


Comments