
The Different Types of Loft Boards
- Jun 12, 2025
- 5 min read

Creating a functional loft space starts with choosing the right loft boards. Whether you're aiming for safe access to solar panel inverters or simply want to free up space in your home by storing suitcases and Christmas decorations, proper loft boarding is essential.
In this guide, we’ll walk you through the various types of loft boards available, key installation considerations, and how to board your loft safely and efficiently—whether you’re a DIY enthusiast or working with a professional.
Why Board Your Loft?
Boarding your loft offers more than just convenience. It can:
Create a usable storage area for seasonal and infrequently used items.
Provide safe access to attic-mounted equipment such as solar inverters or water tanks.
Improve energy efficiency when paired with adequate insulation and a raised floor system.
Add value to your home, by enhancing storage capacity without affecting living space.
With UK data suggesting that just 1.8% of new homes in the UK meet the highest energy performance rating, adding proper loft insulation and boarding can also make a real difference to your energy bills and environmental impact.
Understanding Loft Board Materials And Sizes
Loft boards must be solid, supportive, and durable. Below are the most common materials and formats used for loft boarding:
1. Standard Chipboard Loft Boards (18mm or 22mm)
Chipboard is the most common material used for loft boards. It's made from wood chips and shavings bonded together with resins. Most chipboard boards are 18mm thick, which is sufficient for general storage and walking. Heavier-duty applications may benefit from 22mm boards for added strength.
Available Sizes:
Standard boards: 1200mm x 320mm – Ideal for tight loft hatches.
Large boards: 2400mm x 600mm – Cost-effective for larger areas but may require wider access.
2. Tongue and Groove Chipboard

Boards with tongue and groove edges interlock securely, helping to:
Minimise movement
Distribute weight more evenly
Create a stronger, more stable surface
This interlocking design is especially useful in lofts where structural stability is key.
3. Moisture-Resistant Chipboard (P5)

If your loft is subject to changes in humidity, consider P5 chipboard. These boards are treated for moisture resistance and typically have a green hue. While more expensive, they provide greater durability in less-than-ideal conditions.
4. OSB (Oriented Strand Board)

OSB is growing in popularity due to its strength and affordability. Made from layered wood strands bonded with adhesives, OSB panels are durable and resistant to warping.
Grades Suitable for Loft Boarding:
OSB/2 to OSB/4 (load-bearing grades)
5. Plywood Loft Boards

Plywood is the strongest and most rigid of the common options, created by bonding layers of veneer at right angles. However, the higher cost makes it a less frequent choice for loft storage purposes.
Critical Installation Considerations
Before you begin boarding your loft, here are several essential factors to keep in mind: installing loft boards there are a few things to consider.
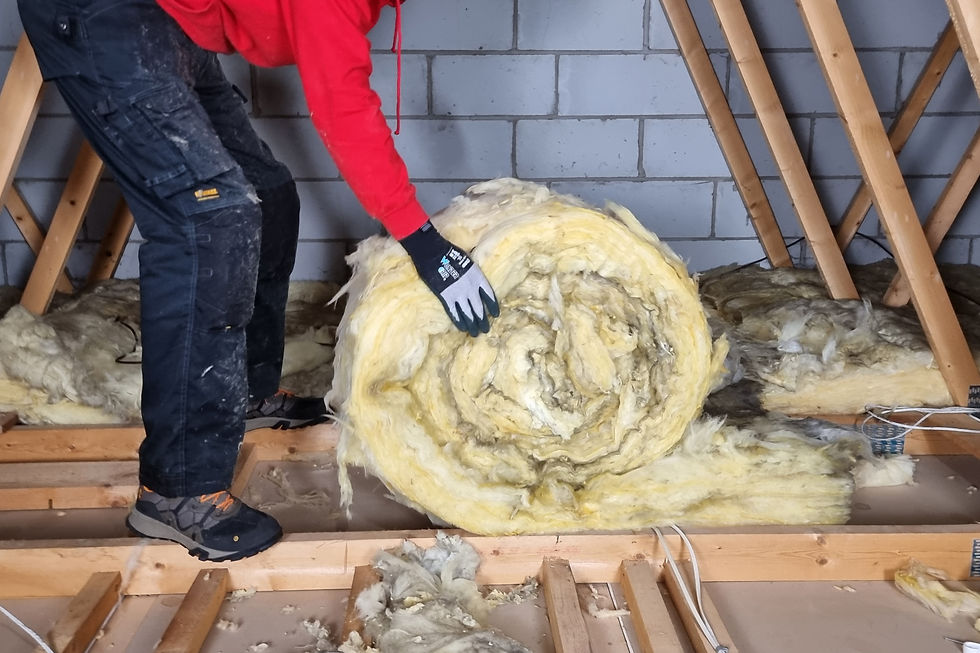
Insulation Depth
According to UK Building Regulations, lofts should have a minimum of 270mm of mineral wool/quilt insulation to achieve a U-value of 0.16 W/m2k. Boarding directly on insulation compresses it, reducing thermal performance by over 50%.
Solution:
Use Loft Legs to raise the boards above insulation. This preserves the insulation's effectiveness, and ensures compliance with NHBC and other warranty standards.

Staggered Joints
While not critical, if possible, lay your boards in a staggered pattern. This means offsetting the joints between adjacent rows of boards to increase overall stability and reduce flexing or warping over time.
Downlights and Electrical Fixtures
If your ceiling below the loft contains recessed lighting (downlights), covering them with insulation can be dangerous. Fit Loft Lids over the fittings before boarding. These protective caps:
Prevent overheating
Maintain a safe clearance around the light
Reduce fire risk
Maintain the airtightness of the ceiling
Suitable for Halogen and LED downlights

Ventilation
Proper airflow is crucial in a boarded loft. Blocked vents or reduced circulation can lead to:
Condensation
Mould growth
Long-term damage to timbers and insulation
Before starting work, inspect all soffit, ridge, or gable vents to ensure they remain unobstructed. Once boarded make sure there is still airflow through the loft, you should be able to feel a light breeze when you are in the loft. More detailed information can be found on ventilation here.
Can You Board the Loft Yourself?
Yes—many homeowners choose to board their lofts as a DIY project. If you’re confident with basic tools and safety precautions, it’s perfectly achievable.
Tools & Materials You’ll Need:
Electric screwdriver/drill
Saw (preferably circular or jigsaw)
Loft boards (tongue & groove preferred)
Loft Legs or equivalent risers
Screws (typically 4mm x 30mm)
Gloves, facemask, overalls, safety goggles
Tape measure and pencil
Workbench or cutting surface
Loft Lids (if required)
Watch our step by step movie here.
DIY Step-by-Step:
Measure the loft space and plan your layout, accounting for any areas that will be inaccessible or uneven.
Install Loft Legs at intervals not exceeding 600mm across joists to support the raised floor. Then install Loft Legs in a similar manner on each truss/joist in the other direction to create a grid formation.
Lay loft boards, staggering joints and screwing securely into Loft Legs. (Note: loft boards will be installed perpendicular to the joints or trusses in the loft.)

Loft Boards Being Installed Onto Loft Legs Avoid overloading. Maximum static weight = 25kg per m² (standard for most modern trussed lofts).
Pro Tip: Use Loft Ledges for side shelving in trussed lofts and keep the central area clear for a safe walkway.
If this still isn't for you, there are thousands of professional loft boarding companies in the UK that can help with this job.
Final Considerations
Structural Integrity
Never remove or modify structural elements like joists or trusses. Doing so can compromise your home’s integrity and void warranties or insurance cover.
Storage Weight Limits
While Loft Legs are capable of carrying loads of over 500Kg, and loft boards are capable of carrying loads in excess of 200Kg, in new build homes the trusses themselves are designed to allow for a person walking on them plus a static load of 25Kg per square metre for storage. It is very important that this is not exceeded.
Keep storage under the recommended 25kg/m² and mark this clearly in the loft using signage. For Loft Ledges, do not exceed 12kg per shelf.
It is recommended that if any raised boarding is installed that a reminder of this weight limitation is placed in a visible position. The Loft Leg reminder (included in all retail boxes of Loft Legs) can be seen below:

Using The Loft Space
If you have a trussed roof construction, consider shelving the outer 'hard to reach' areas with Loft Ledges rather than boarding at floor level.

This allows you to create a clear central walkway with loads of organised storage space at the sides of the loft.
Installing hanging rails and hooks on the gables or in between the trusses also allows use of the vertical space in the loft.
Converting a Loft Into a Room?
If you're planning a full loft conversion into a living space, different rules apply. You’ll need:
Structural calculations
Building regulations approval
Suitable flooring (not standard loft boards)
Possible roof alterations
This blog only covers non-habitable storage lofts.
Make Your Loft Space Work for You
Loft boarding, when done correctly, is a smart, energy-efficient way to gain valuable space in your home. By selecting the right type of loft boards and following best practices during installation, you’ll protect your insulation, avoid structural issues, and create a practical storage area that serves you for years to come.

Ready to get started? Visit our website for professional products and expert advice to help you board your loft safely and effectively.


Comments